We can limit ourselves to just explaining the manufacturing process, but giving an overview of the whole flow gives a healthier picture. -The grinding process includes: -Designing parts in CAD -Convert CAD files to code for processing -Setting up the machines -Produce parts
Designing the CAD files & translation into code
The first step is to create a virtual representation of the final product in CAD software. There are many powerful CAD-CAM programs that allow the user to generate the G code required for machining. The code can be used to check and change if necessary to match the capabilities of the machine. Also, manufacturing engineers can simulate the entire cutting process using this type of software. This allows checking for errors in the design to avoid creating models that are not reproducible.
You can also write the G code manually as it has been done in the past. However, this significantly lengthens the entire process. Therefore, we recommend that you take full advantage of the possibilities offered by modern engineering software.
Setting up the machine
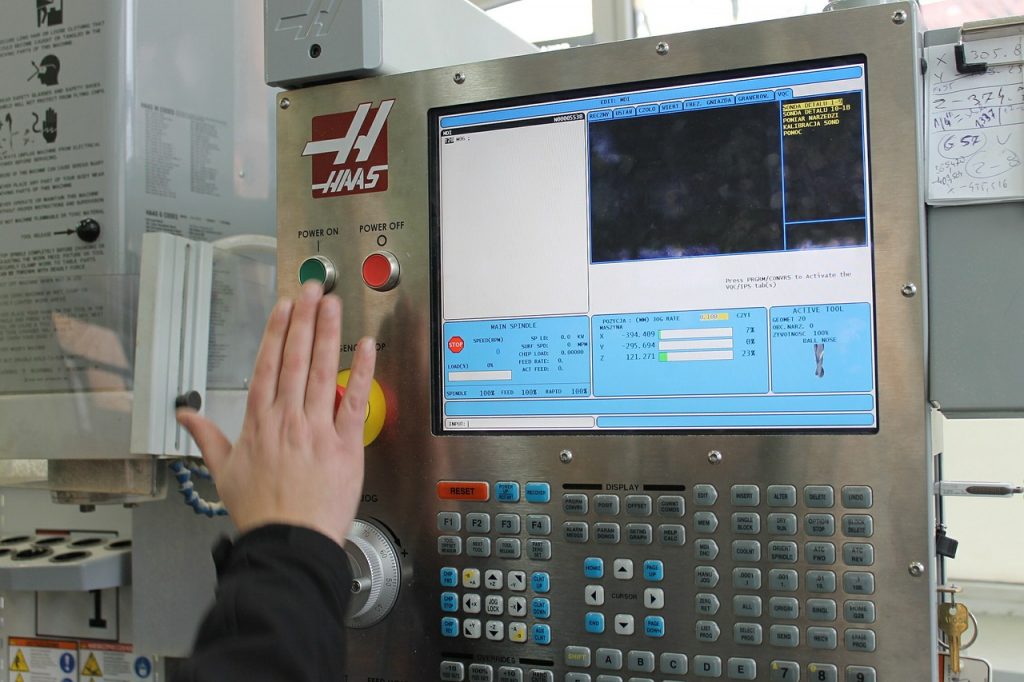
Although CNC machines do the cutting job automatically, many other aspects of the process require the hand of a machine operator. For example, fixing the workpiece to the workbench as well as attaching milling tools to the machine spindle. While manual milling is largely dependent on operators, newer models have more advanced automation systems. Modern milling centers may also have lively tooling possibilities. This means they can change tools on the go during the production process. So there are fewer stops but still someone needs to pre-arrange them. After initial setup, the operator checks the machine program one last time before giving the green light to start the machine.
Production work
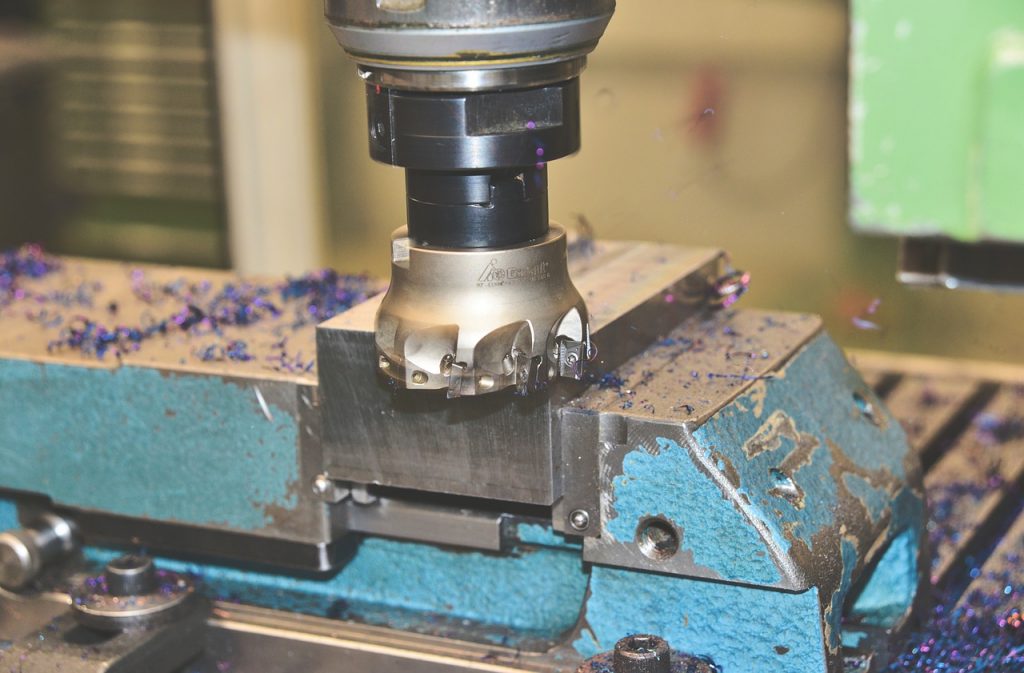
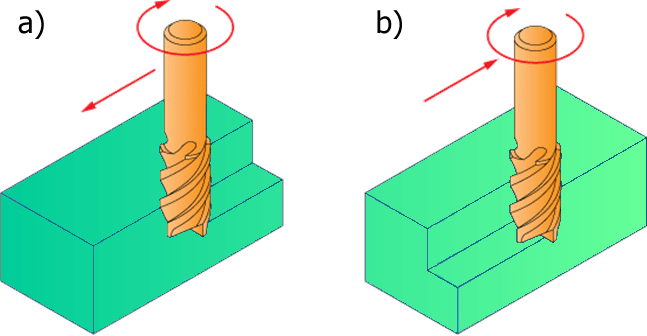
The milling process uses a rotating tool that comes into contact with the workpiece to cut the chips. Continuous cutting gives the desired shape. However, there are several different ways to perform the cut:
A) Climbing milling B) Conventional milling As the name suggests, conventional milling has been a more common way of milling, at least in the past. The mechanics of traditional milling
-The thickness of the cutting chip increases. This can cause high temperatures that cause the work to harden. -The start of a cut involves more friction and friction, which accelerates tool wear and shortens its life. -As the teeth carry chips upward, it can fall back into the cutting path and reduce the finish quality. -Tighter clamping and clamping of the workpiece is necessary to prevent displacement caused by large upward forces. -Newer CNC milling cutters use climb milling. Features of climb milling: -The thickness of the cutting chip decreases, causing the chip to heat up, not the workpiece. -The cutting surface is cleaner, resulting in less friction and increased tool life. -Chips fall behind the cutter, reducing the dirty cutting path problem.
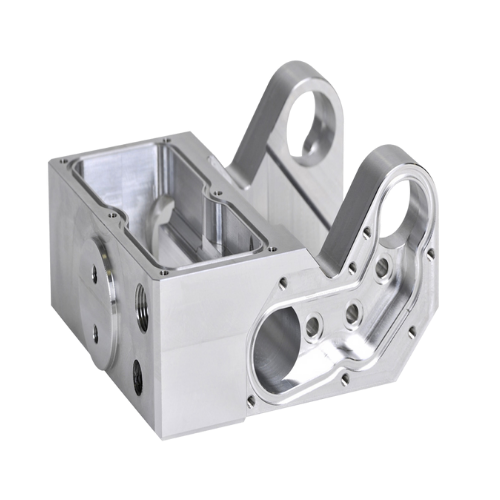
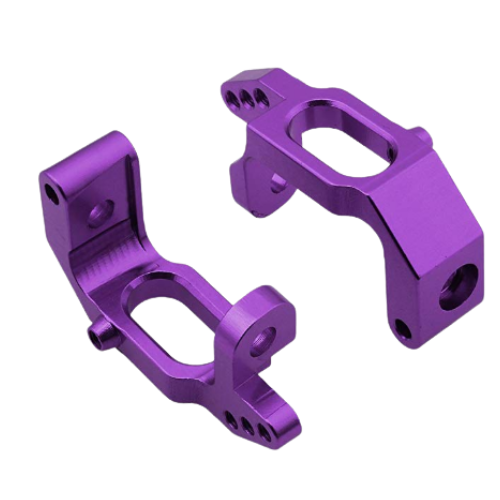
The grinding process usually involves several different processes, but this depends on the shape of the final product and the condition of the blank. Often milling is required to obtain a precise surface and add a few features such as slots or threaded holes. But it is also suitable for creating a finished part from a block of material. Initial processes use larger tools to quickly sculpt the material to fix the process until it reaches an approximate shape of the final piece. A tool change is required to create highly precise machined parts. In the final stage, it is known that large precision milling is achieved, which takes engineering tolerances and surface roughness to levels difficult to match with any other manufacturing process.